I’ve been making sourdough bread at home since 2009. I’ve even been using the “same” starter. I don’t precisely recall all the details of making the starter in the first place, so I’m not going to discuss that in this post.
What I would like to provide here is a description of my bread-making process. Perhaps this description might be useful to someone (?) or it might provoke constructive feedback!
Steps
- the starter: feeding etc.
- making the dough and rising
- shaping the loaves
- baking
I make bread roughly every two weeks. My method has changed a bit over time. In fact, this year I was shown some new ideas which led to substantial changes of my dough-forming procedure, and I’m happier with the outcome. I’ll comment a bit about the change(s) below.
As silly as it is, I’m going to stick with standard US volume-measurements (cups rather than liters). Early versions of this post tried to give both US and metric units, but it struck me as awkward. Shouldn’t be hard to convert if you require it…
Feeding the starter
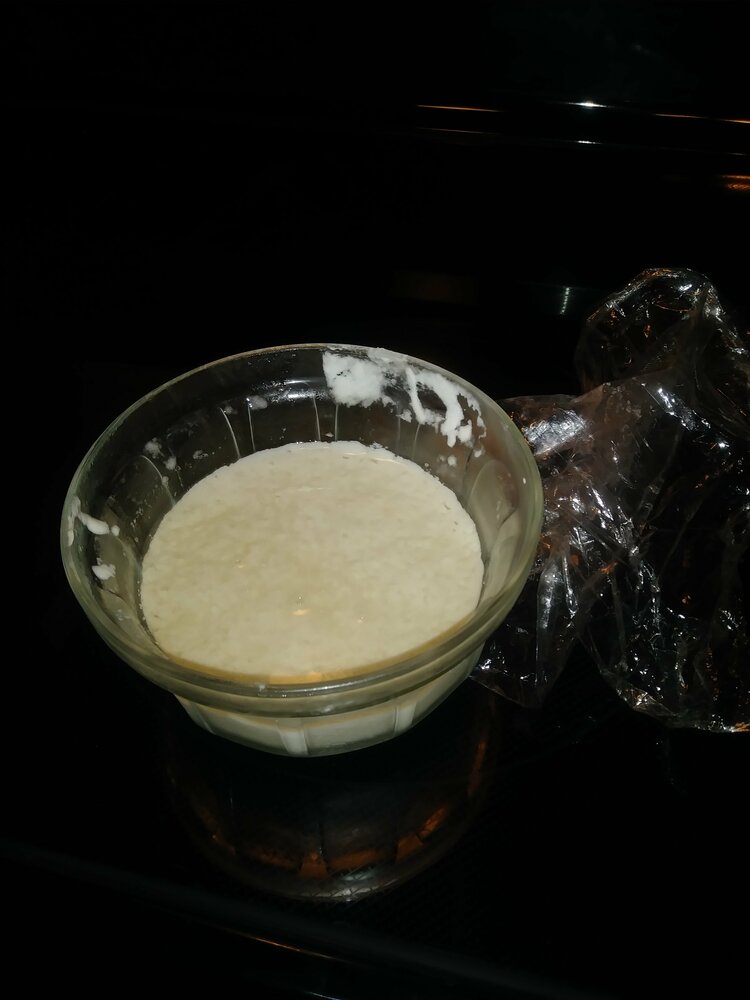
The starter lives in my refrigerator, and I try to feed it every couple weeks. Typically, I feed it when I’m actually making bread, but if for some reason I’m not going to make bread for a while, I might do a feeding anyway.
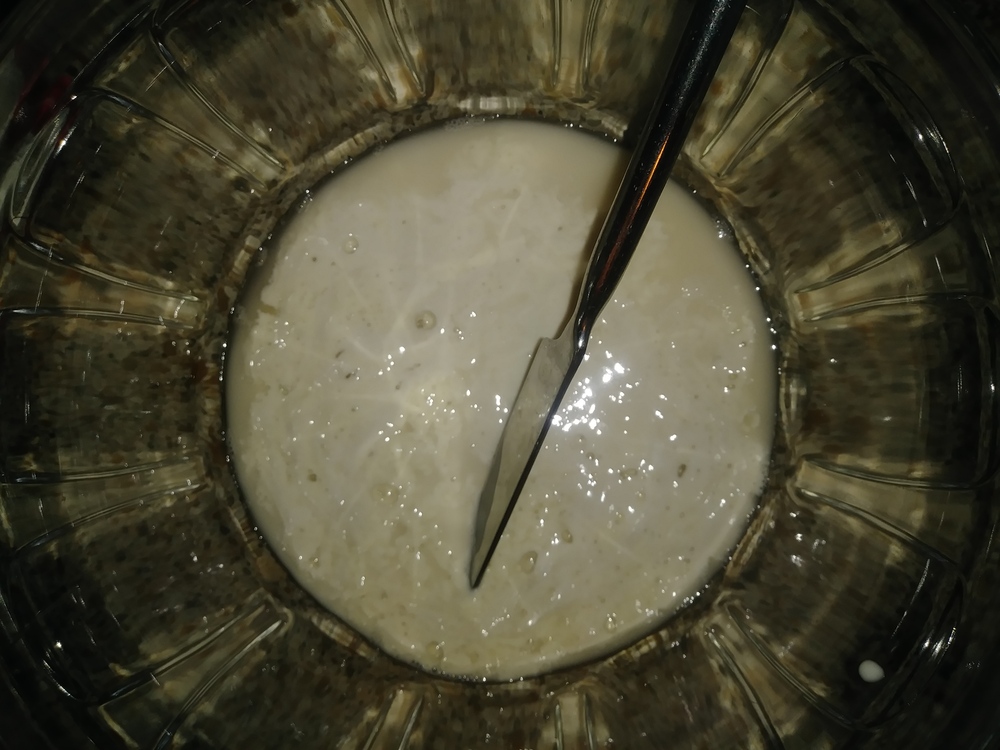
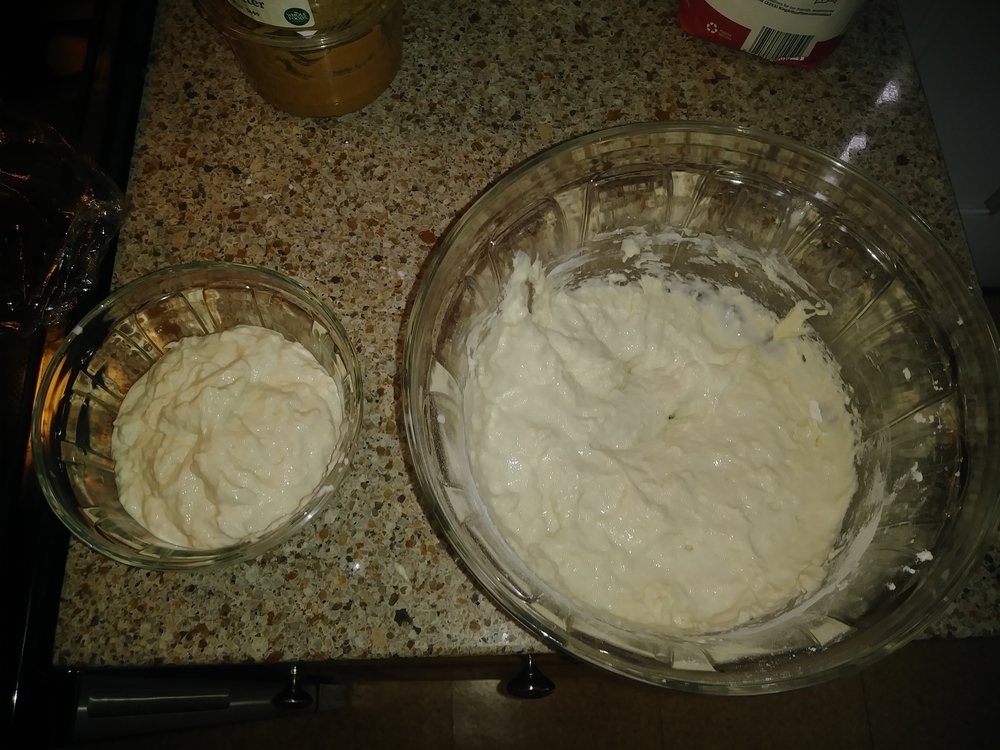
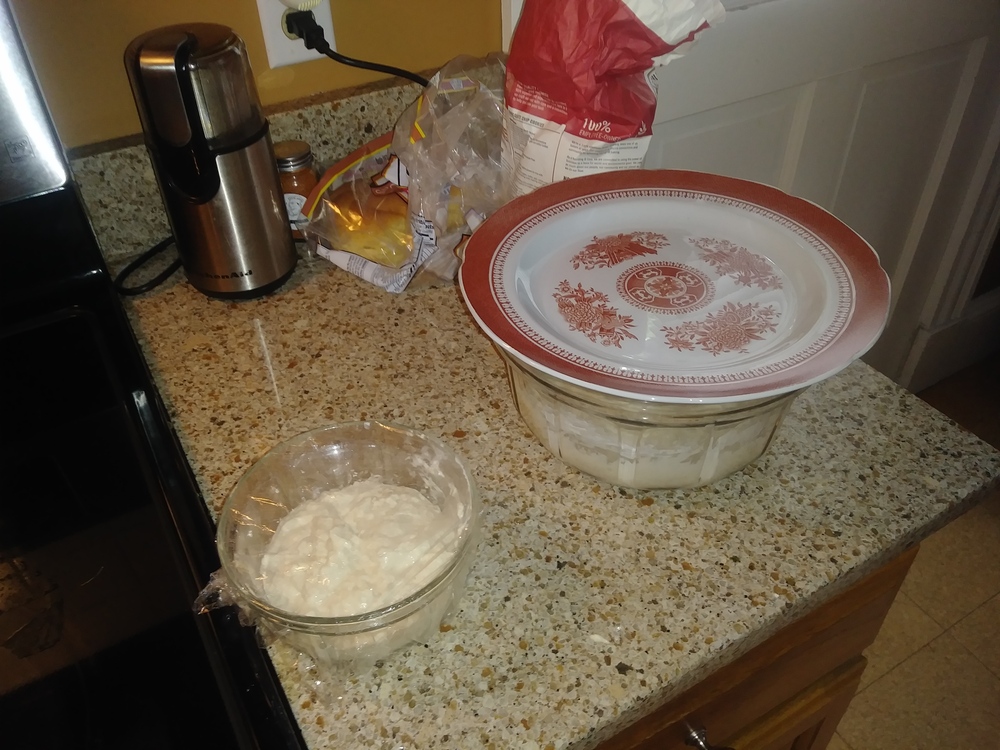
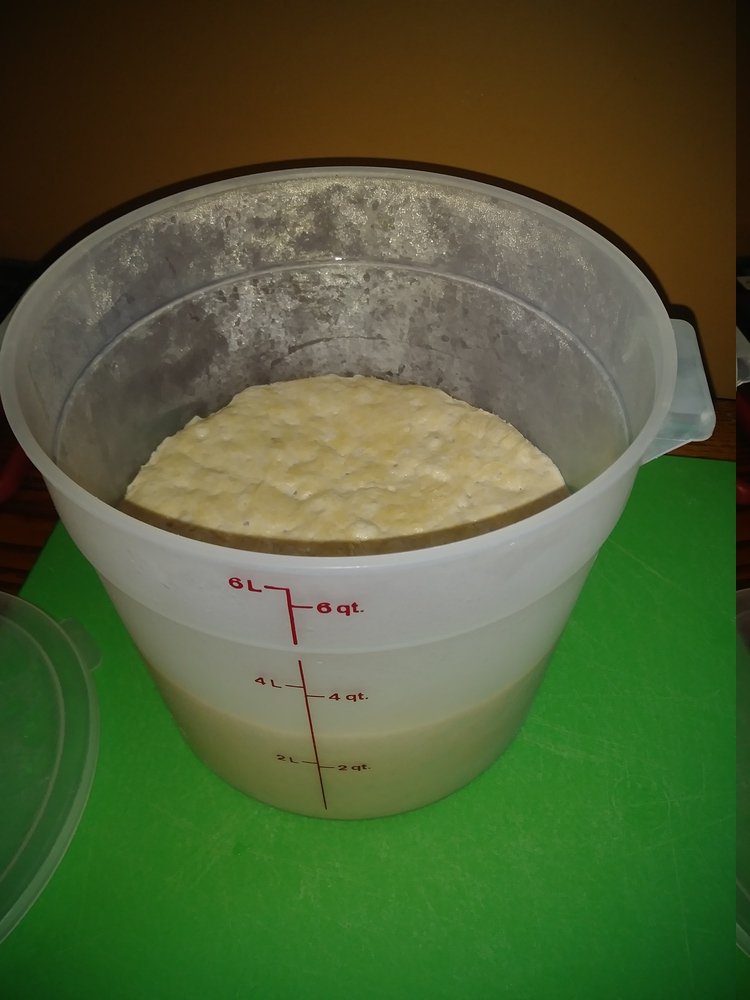
I keep approximately 1 cup of starter in the refrigerator. For the feeding, I remove the starter from the refrigerator in the morning and set it on the counter to come to room-temperature. After the starter has been out for a few hours, there is typically some visible activity. At that point, I add 1 cup of water and 1.5 cups of all-purpose flour. After mixing, I put 1 cup of the resulting starter in a separate bowl – this will eventually return to the fridge as the ongoing starter. I leave both bowls out for a 2 or 3 hours, after which I return the ongoing starter to the fridge.
If I’m making bread, the remaining starter is used in the next step. Otherwise, that remaining starter should be discarded, or used to make bread-sticks or so…
I used to just immediately return the ongoing starter to the fridge after mixing, but in the past year I’ve been leaving it out for the indicated couple of hours so that it can develop a bit at room temperature. I’m not entirely sure whether this has been beneficial, but on the other hand it hasn’t done any harm and it is easy enough to do.

Making the dough
Roughly speaking, the dough is made up of the starter, 6 cups of flour, 2.5 cups water, and some salt. The dough is initially made in the evening, and has an overnight rise. It is eventually shaped, placed in loaf-pans, and baked the next day. I sometimes issues where the dough would rise too much when left out over-night, so now I make the dough in stages, with a refrigerator-rise overnight.
Here are the details:
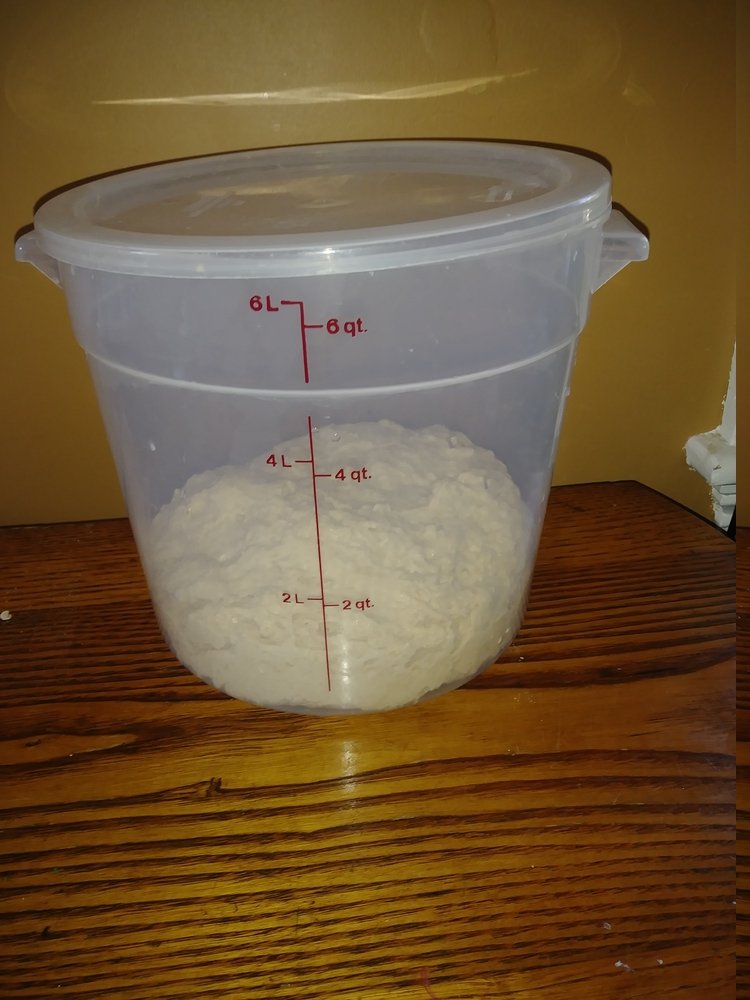
In the evening on the feeding-day (as described above), I mix the room-temperature-starter together with about .1.75 cups of water and 4 cups of flour. I typically use 2 cups of whole wheat flour and 2 cups of white flour. I add all the water to the starter first, mixing until more-or-less homogeneous. I then add the flour a bit at a time, mixing until it is dough-like. It sometimes tends to be annoyingly sticky – after all 4 cups of flour have been added, one can regulate the consistency by adding small amounts of flour or water as needed.
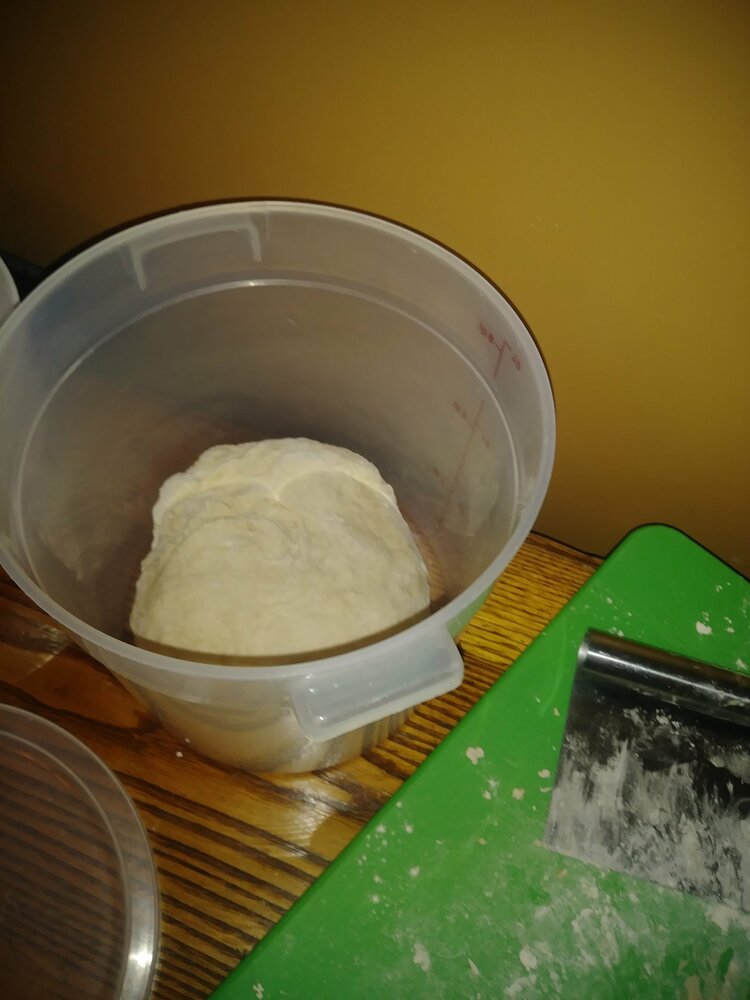
After the dough is formed, I knead it a little bit (remember that it will be kneaded again in the morning). I then place the dough in a container. It is left to rise at room temperature for a few hours. Before I got to bed, I put the rising dough in the refrigerator.
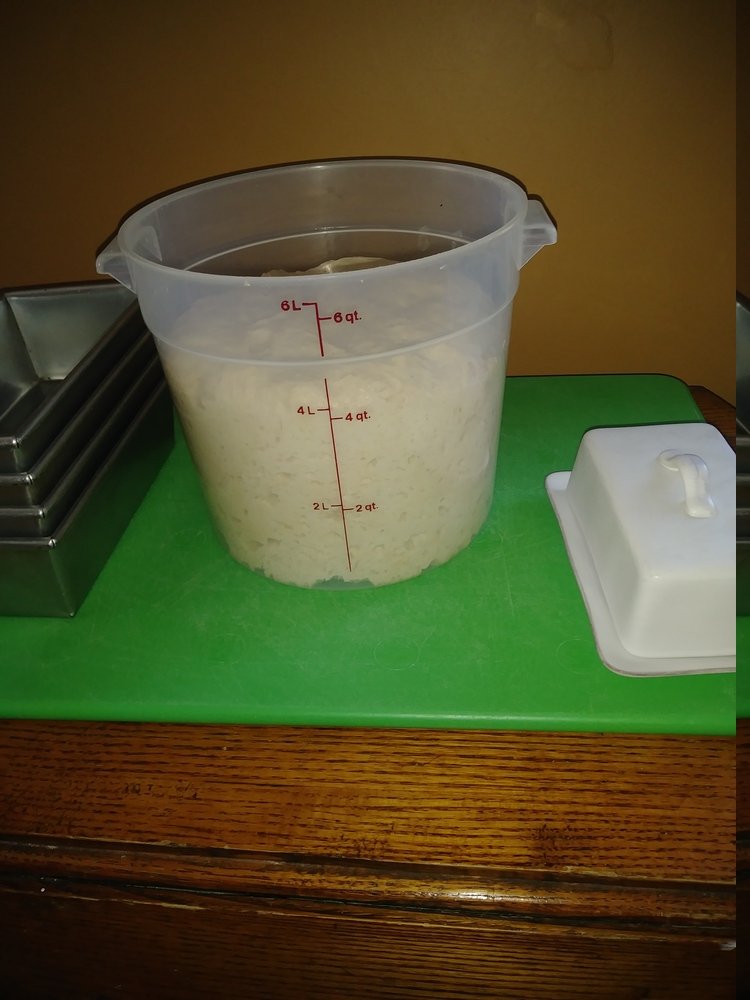
When I first get up in the morning, I remove the dough from the refrigerator and leave it out while I have breakfast and coffee. I then return the dough to a bowl, mix in slightly less than 1 US tablespoon of salt, the remaining 3/4 cup of water and 2 cups of flour– again, half whole wheat and half white flour. Sometimes I add 1/4 cup of milk (substitute for 1/4 cup of water) and vegetable oil (2 US Tbsp) to the dough.
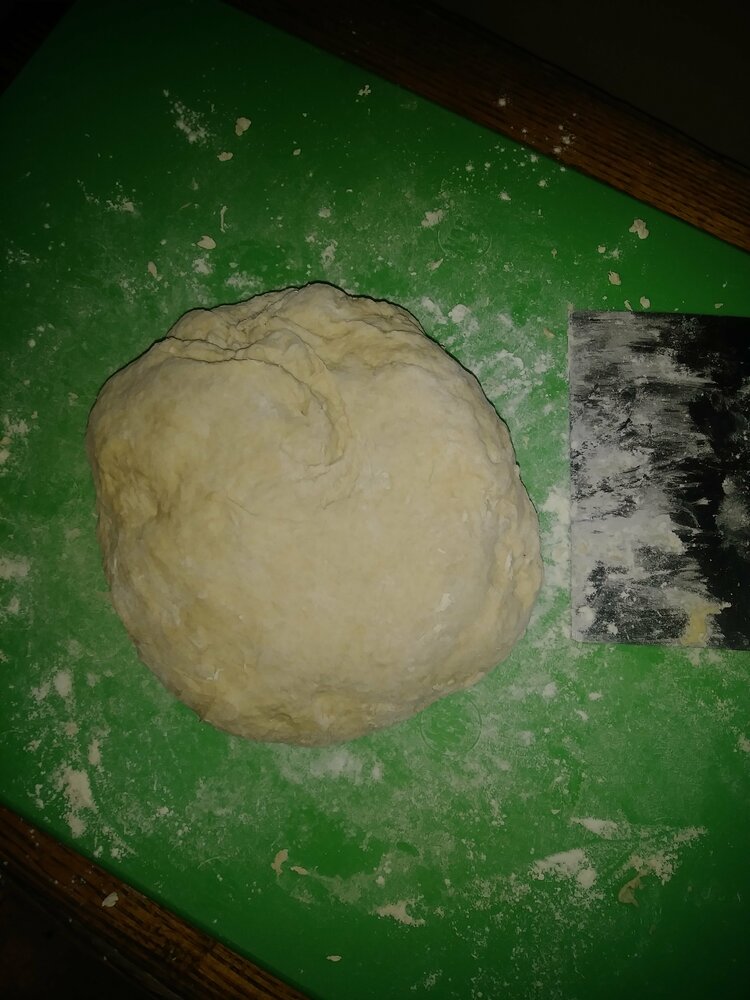
Next, I knead the dough for 4-6 minutes; afterwards, I place it in a container for rising. It will typically double (actually, slightly more than doubles) in bulk within 2 or 3 hours.
Shaping the dough
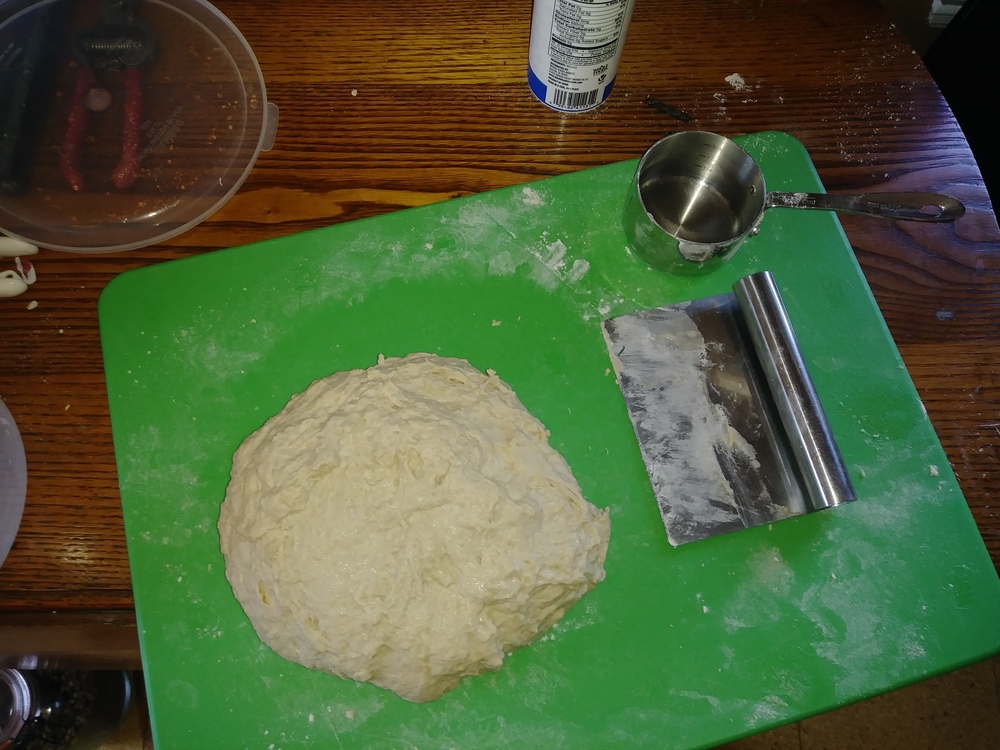
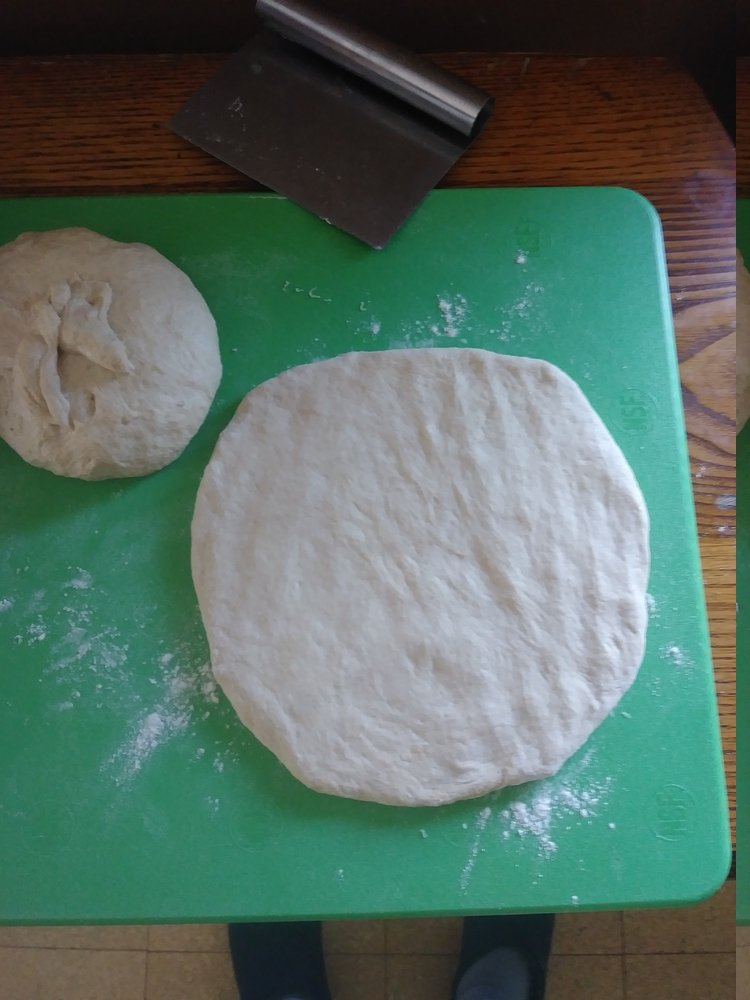
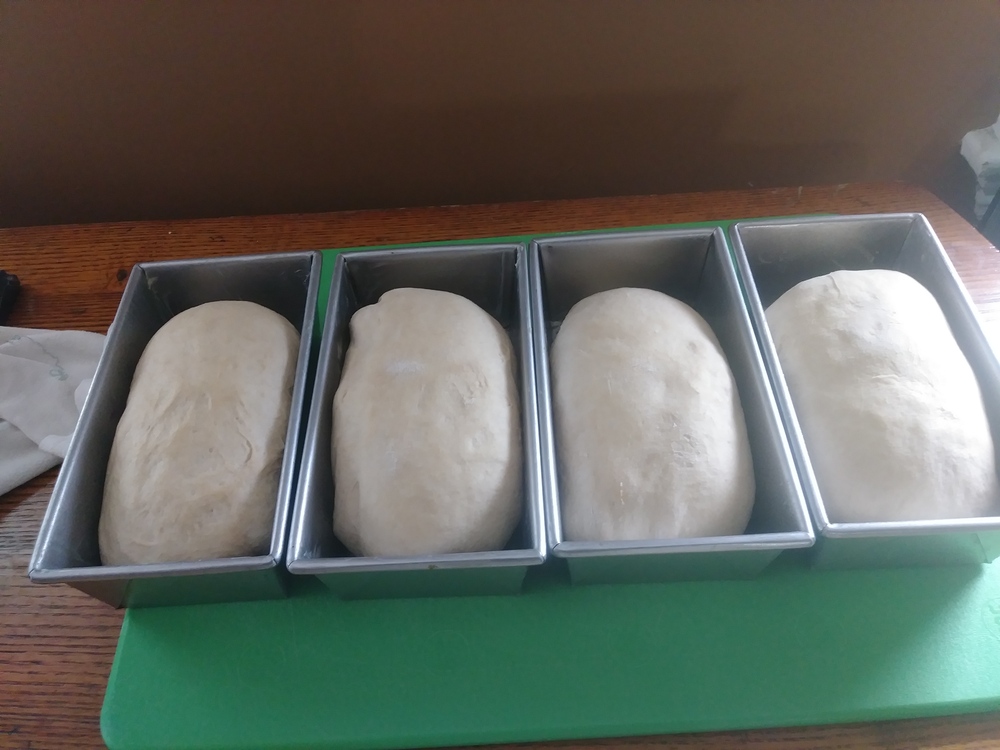
After this morning rise, when the full dough has doubled in bulk, it is time to shape the loaves. For this, I place the dough on a board, flatten it with my hands, and divide it into four equal portions. I sometimes use a scale to make sure the portions are the same size.
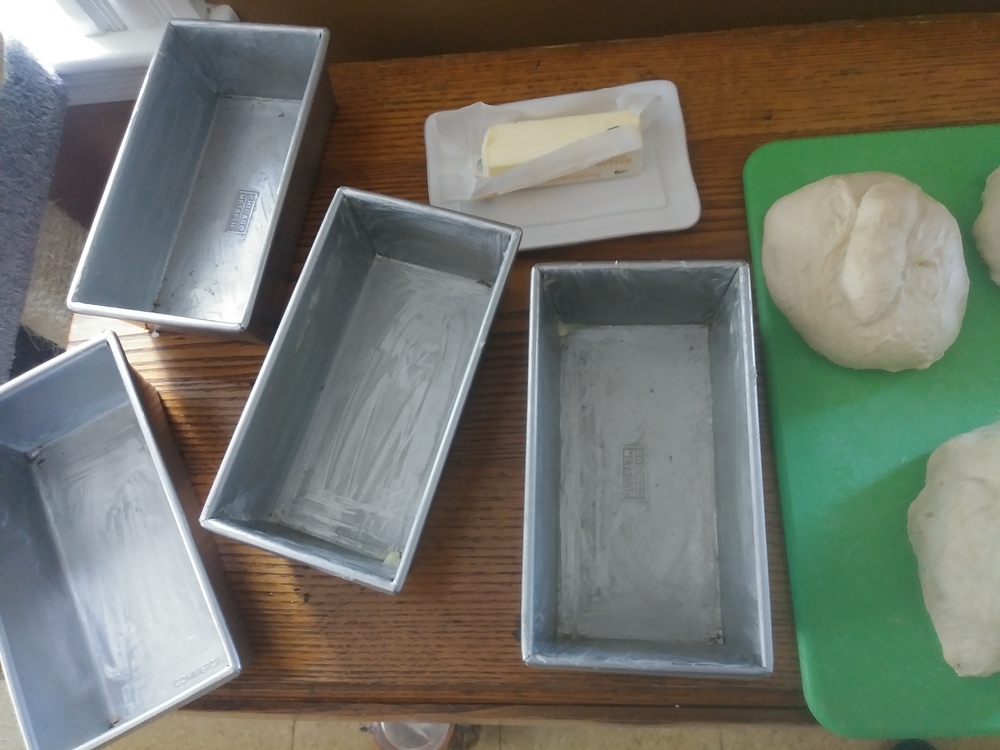
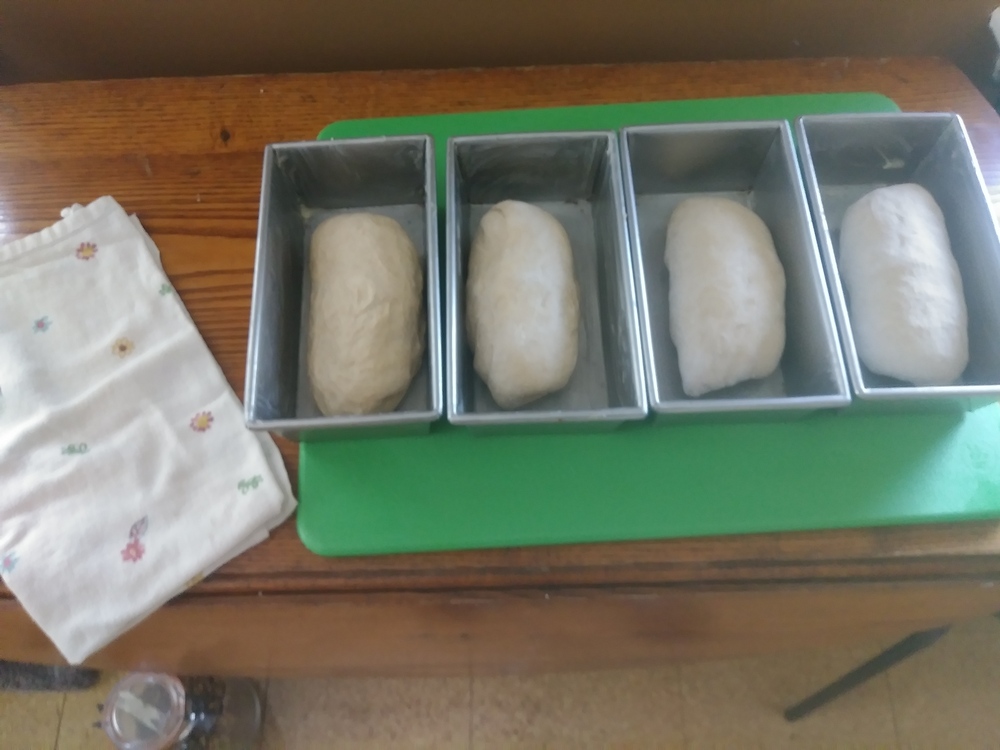
After dividing the dough, I form each portion into a ball, and let it rest. While it is resting, I use wax-paper to coat the inside of four loaf-pans with butter.
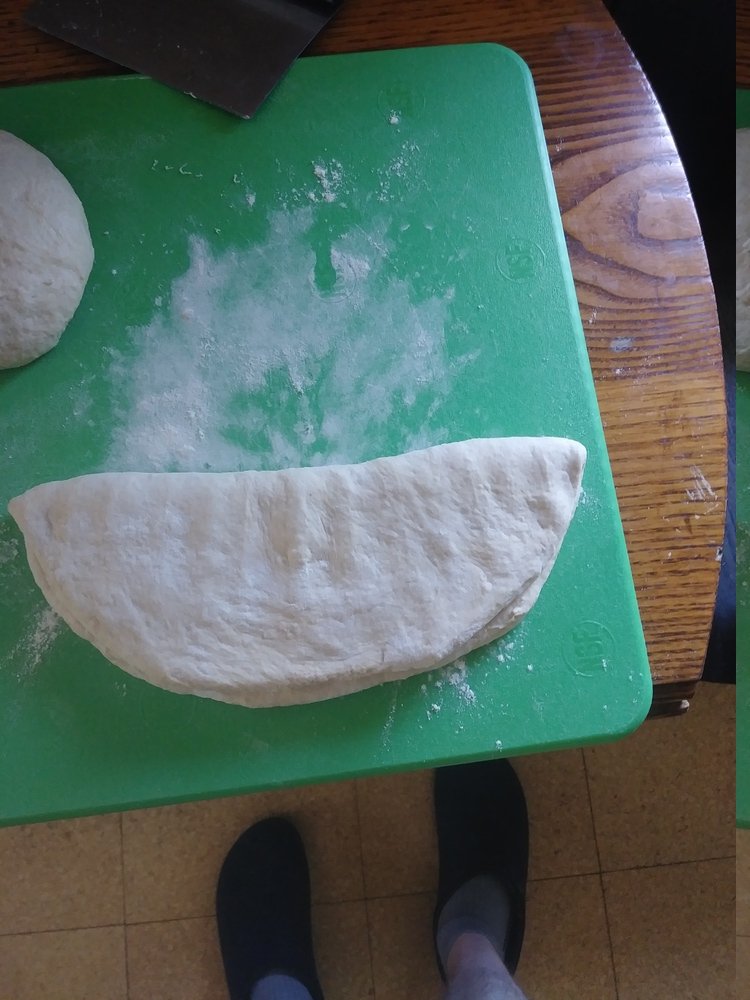
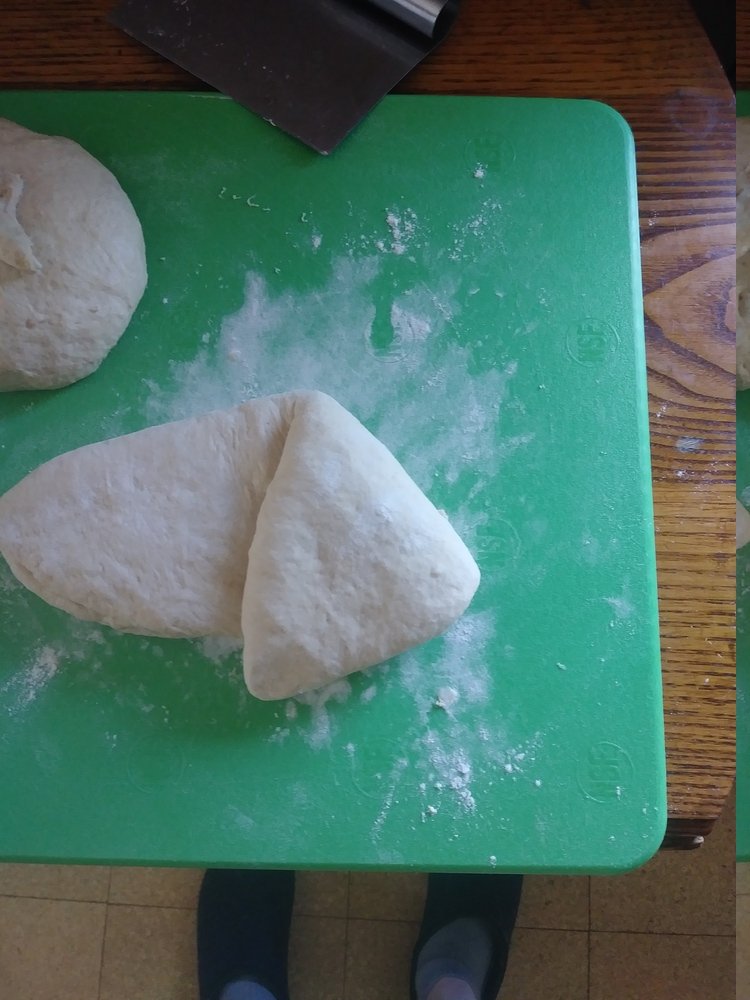
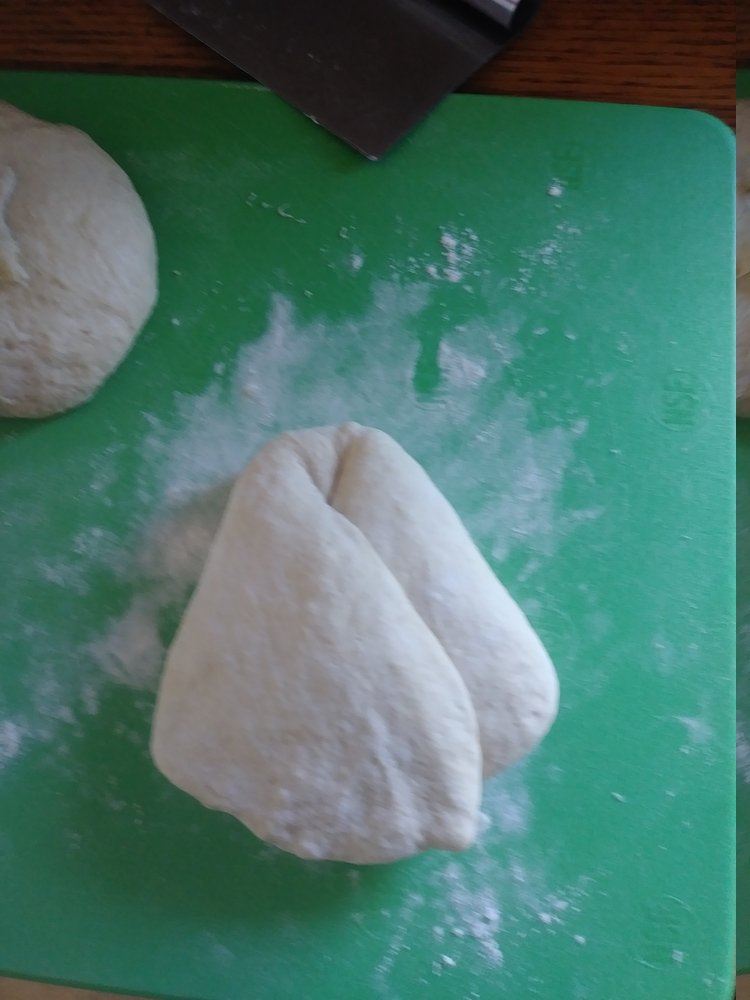
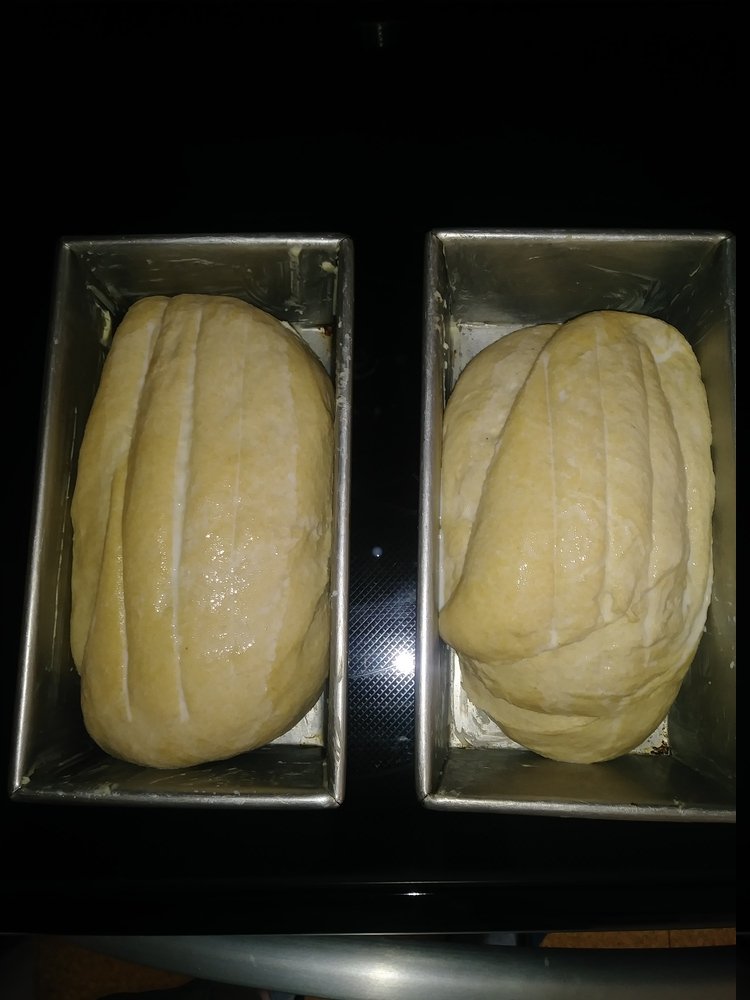
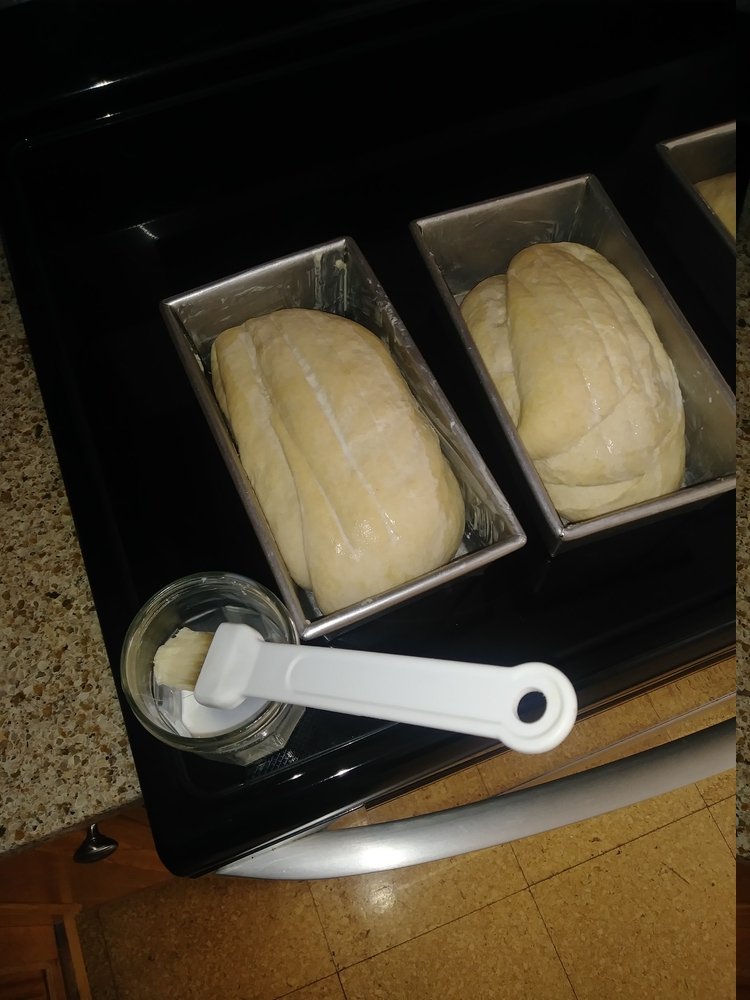
To shape the loaves, I flatten each dough-ball into a fairly thin circle and then fold that circle in half. Rather than describe the rest of the procedure, you can just look at the photo just below.

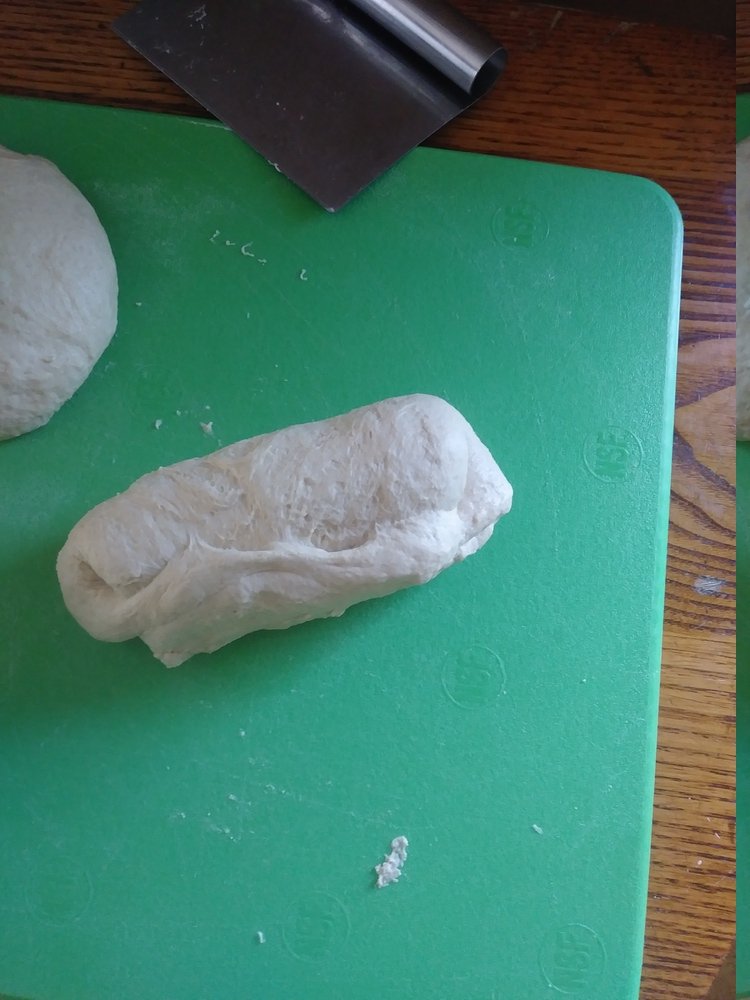
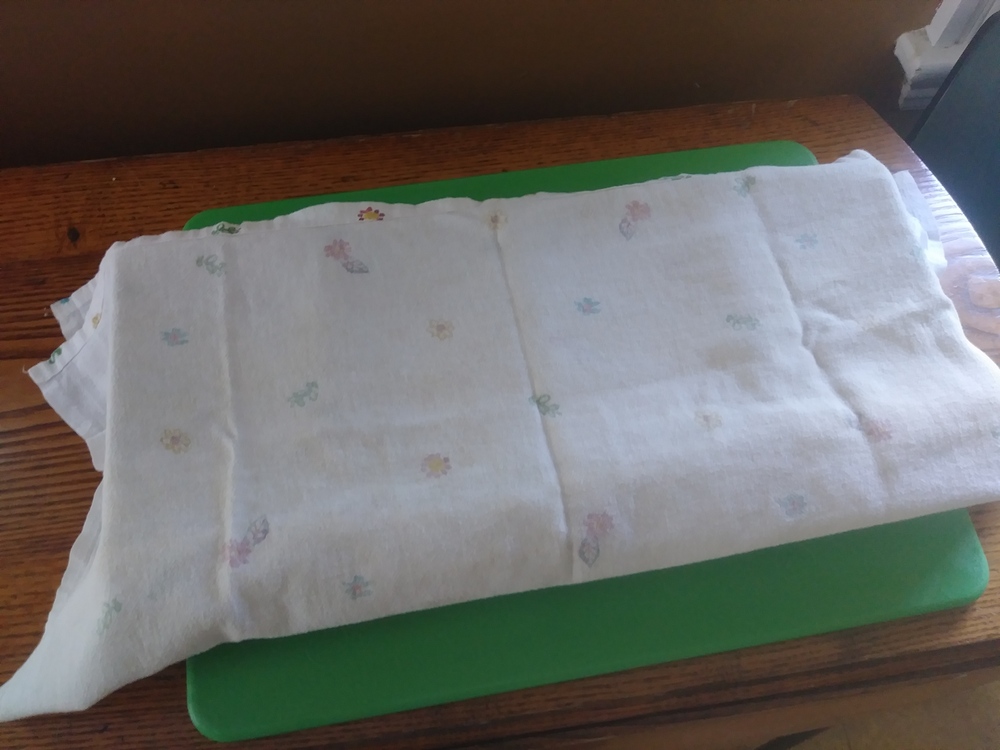
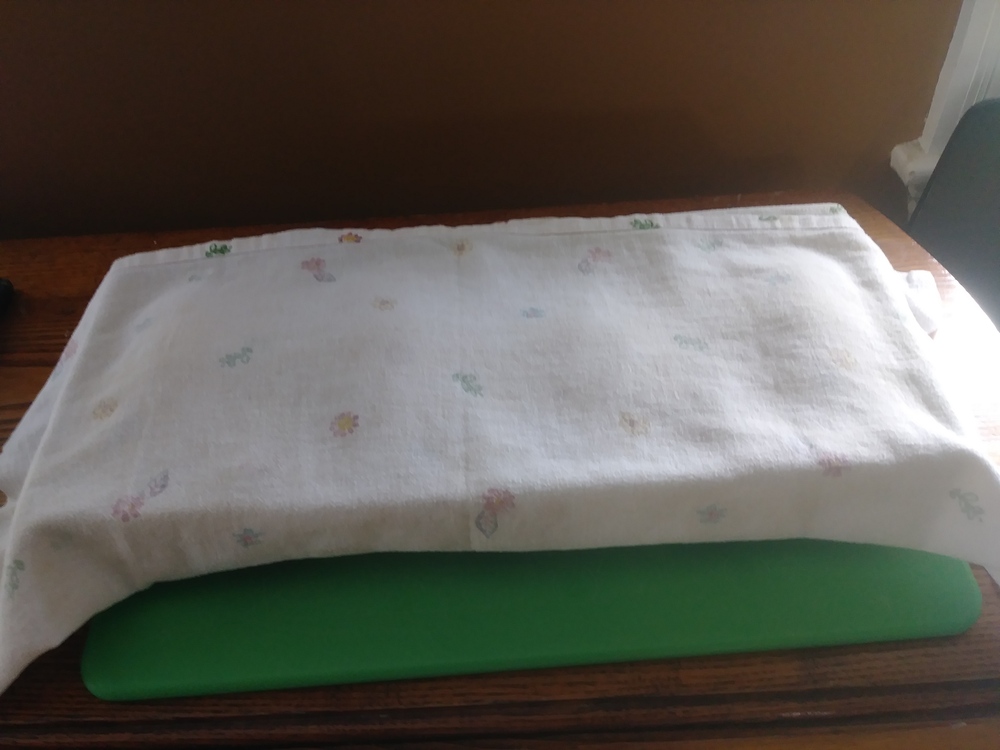
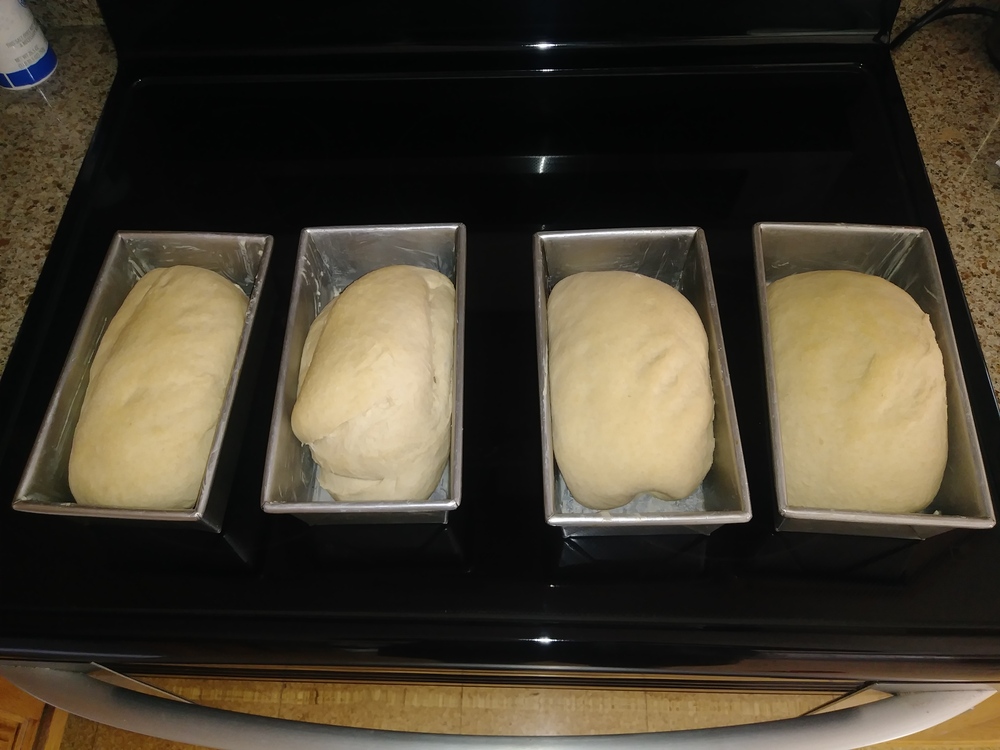
After each loaf is shaped, I place it in the buttered loaf pan. Then I place a tea-towel over the four pans and let the loaves rise for a couple of hours.
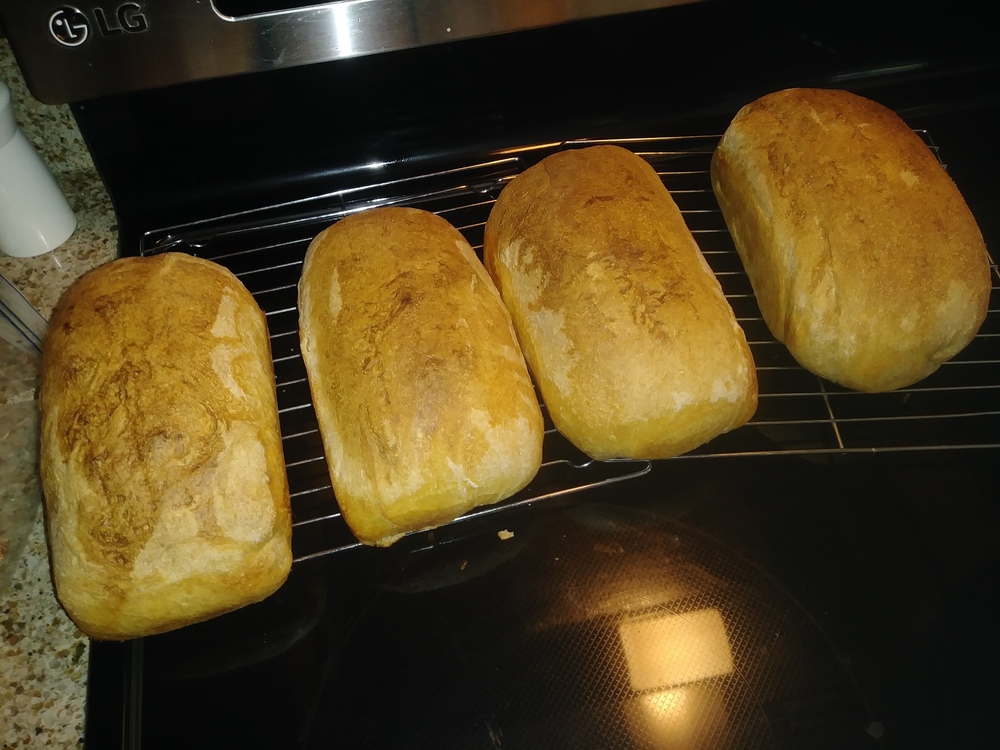
Baking
After a couple hours, the loaves will have roughly doubled in volume. At that point, I pre-heat the oven to 400 F, slash the loaves with a sharp knife, and brush them with a little bit of milk. The loaves bake for 35 minutes; afterwards, they cool on a rack.
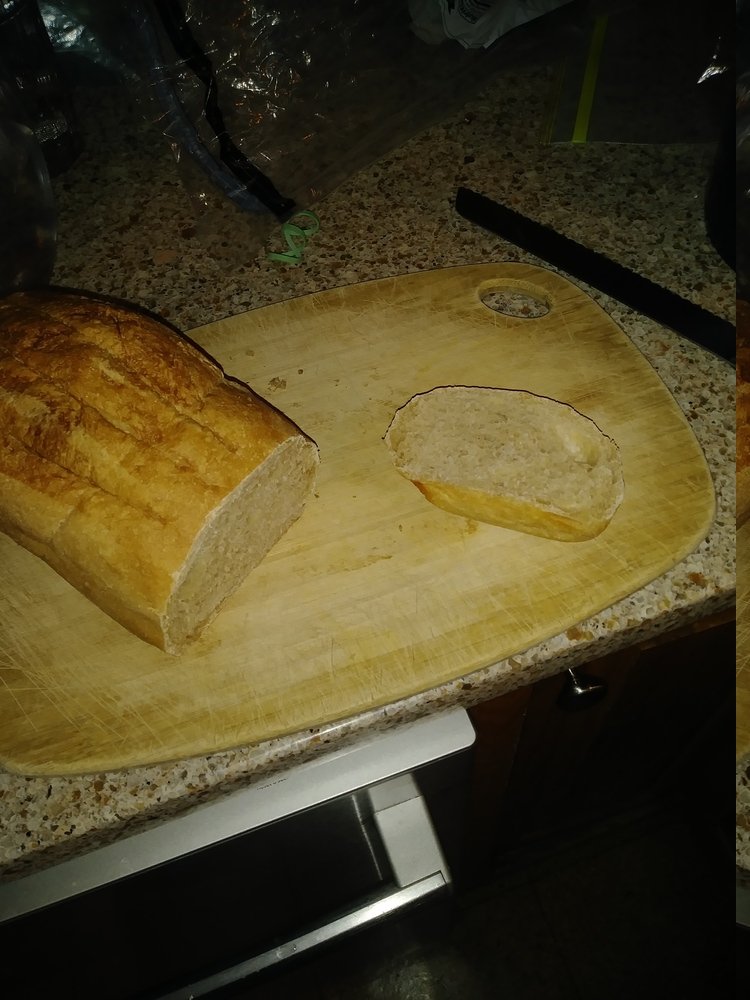
Having written all this, I acknowledge that it is a pretty long process! But I enjoy it, and the bread is tasty.